How to Photograph Artwork: A Simple Guide for Artists
October 15,2026 11:46 PM(UTC+8) 48 views
The drawing is finally finished. Photographing it was supposed to be the quick part, yet here you are, still trying to get a picture you're happy to post. The paper has gone gray. A shadow has swallowed half the face. That lovely pink? Apparently it's orange now.
“The colors are better in person,” you caption your post with a sigh.
They probably are. But your audience only has the photograph, so let's give them a better look. Hold off on the camera shopping for a moment. Is your body blocking the light? Is the page bright on one side and dark on the other? A few adjustments may give you a much better photo with the camera you already have.
Set Up Your Space and Equipment
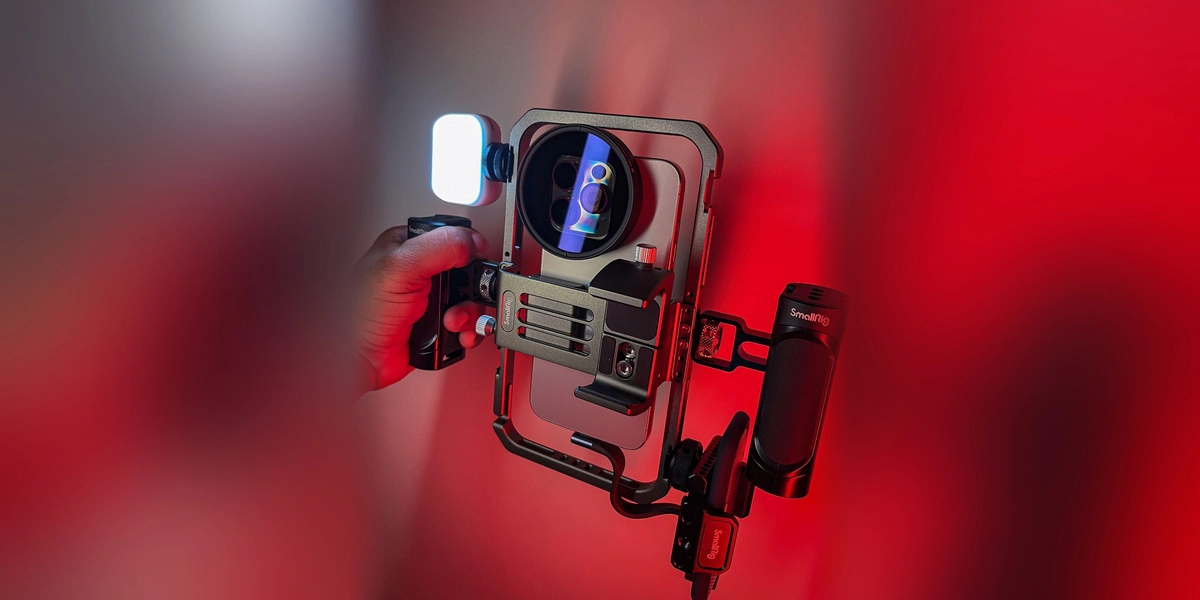
Hand holding a smartphone camera rig with an attached LED light and lens filter.
For a first attempt, start with the phone that's already in your pocket. Online portfolio images are a sensible place to start. Bigger reproductions can be another matter; if the detail isn't there, that's when a better camera, a suitable scanner, or a professional photographer becomes worth considering.
For now, gather these:
● Your camera or phone. A phone with a good rear camera is enough to start. A DSLR or mirrorless camera gives you more control over the settings.
● A tripod or phone mount. They allow you to move the artwork without having to line up the camera again.
● A neutral wall or board. If any background stays in the final crop, keep it plain so it doesn't distract from the drawing.
● An editing app. Look for cropping, exposure, and white balance tools—you’ll use these to straighten the frame and get the light and colors closer to the original.
Take one photo with a photographic gray card beside your artwork, then remove it for the other shots. When editing, use the white balance eyedropper on the card. Copy that setting to the other photos taken in the same light.
Get the Artwork Into Position
Set a canvas firmly on an easel. For a drawing, a clean, flat table works well, with the camera pointing straight down over the paper. You also want to watch where you stand—you might be casting the shadow you’re trying to remove.
Check for curled corners before taking the photo. They can create shadows or catch more light than the flat parts of the sheet. Gently flatten the paper, keeping any weights outside the drawing itself. Take particular care with charcoal, pastel, or other marks that smudge easily.
Glass adds another complication. If the work is framed, check whether you can see yourself or the room reflected in it.
Find the Light Before Finding the Filter
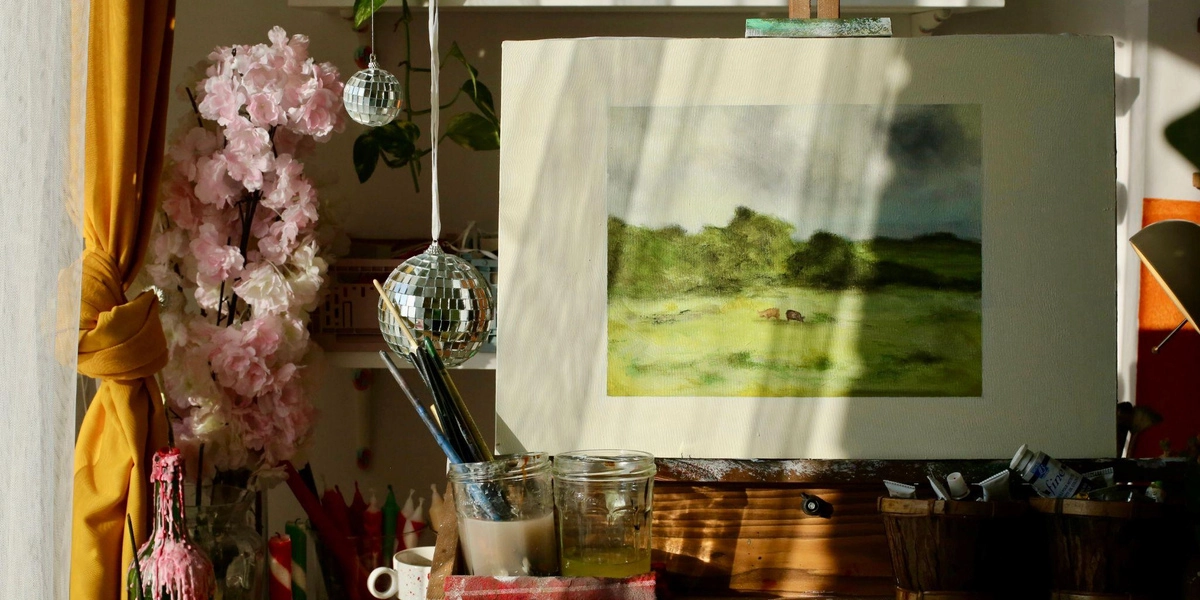
Landscape painting on an easel beside a window, with sunlight and shadows across the canvas.
Try a spot near a window, with no direct sun on the artwork. Switch off nearby lamps so their light doesn’t change the colors.
A cloudy day can also work well; just keep the artwork somewhere dry and out of the wind. If the sun comes out, check the photo’s brightness again.
At night, use two matching photography lights with diffusers to soften the light. Place one on either side of the piece, equally bright and roughly the same distance away. Begin at about 45 degrees to the artwork's surface. Take a photo before adjusting their positions.
Turn off your phone’s flash when photographing a varnished painting, as it can leave a bright reflection that hides the brushwork.
Get the Details in Focus
Focus on a clear line or brushstroke. Make sure the photo isn’t so bright that faint marks disappear. Use a tripod or mount and a short timer to keep the camera still.
On a phone, use the main back camera. Avoid digital zoom, the ultrawide lens, portrait mode, and filters.
On a DSLR or mirrorless camera, start with a low native ISO, often 100 or 200, and f/8. Change the shutter speed to adjust brightness. Use RAW if you know how to edit those files.
Take a test photo and have a close look:
● Blurry lines? Focus again on a distinct detail and check that the device is steady.
● One side darker? Reposition the lights or artwork for more even lighting.
● A crooked-looking page? Center the camera and keep it parallel to the piece.
● A bright patch? Check for reflections on the artwork or frame glass and adjust your lighting.
Before changing the setup, zoom in on the new shot. Look at the corners as well as the middle. Once the fine lines and faint shading are clear throughout, you can move on to editing.
Edit With the Original Beside You
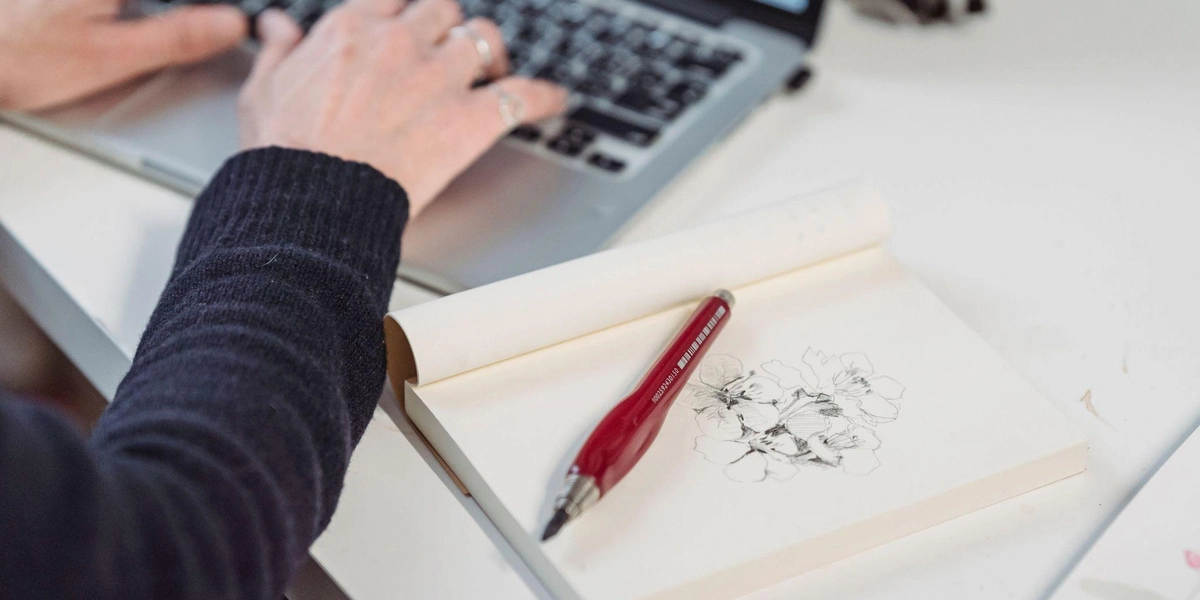
Person using a laptop beside a sketchbook with a flower drawing and red pen.
Open the photo with your artwork nearby in even, neutral light. Make a small adjustment, then look back at the piece. It’s surprisingly easy to keep adding brightness or color because the previous change looked good.
You already chose the colors when you made the artwork. Use them as your reference now.
● Crop and straighten: Remove unwanted background without trimming the artwork or stretching its shape.
● Correct the color: Use your gray card photo if you have one. Cream paper shouldn’t suddenly look bright white.
● Set the brightness: Keep an eye on pale shading and details in dark passages.
● Check sharpening: Back off if you see bright outlines around marks or exaggerated paper texture.
A reflection that hides part of the drawing usually calls for another photograph. Editing won’t reliably bring back details that weren’t captured.
Keep the untouched photo and save your finished edit at full resolution. Make a separate copy for uploading, sized to the website’s requirements. sRGB is a common choice for web images.
Check the File Before Printing
Before ordering a print, look up the file requirements for that particular product. Start with pixel dimensions. An 8 × 10 inch image printed at 300 pixels per inch needs 2,400 × 3,000 pixels, plus any extra area required for bleed.
Typing “300” into a resolution box won’t add missing detail. The original photo needs enough information to support the print size.
Check the requested color profile and file format, too. Follow the printer’s instructions rather than assuming the same export will suit every service.
Once you have a clear photo, you can try your artwork on a print, sticker, or keychain.
With Artiststore , you can open a shop and sell prints, stickers, pins, keychains, standees, and more. It makes and ships the products when orders come in, so you won’t need to keep stock or pack parcels.
Check the product template before uploading your image. A drawing that fits a print might need a different crop for a keychain. Look at the preview to make sure nothing important gets cut off.
Common Mistakes to Avoid When Photographing Artwork
Some problems are easy to miss while you’re concentrating on the drawing. Before finishing the shoot, check for these common mistakes:
● Letting the frame grab the focus: Select a detailed part of the artwork instead of its frame or background.
● Checking only the middle: Enlarge the corners, too. Fine lines should stay clear across the piece.
● Brightening away the pale marks: Watch your lightest shading as you adjust exposure. Stop before it disappears.
● Forgetting that the canvas leans back: Match the camera’s tilt to the artwork so their surfaces stay parallel.
● Taking every shot without checking the light: If clouds pass or sunlight enters the room, pause and check the exposure again.
Fix anything you notice while the setup is still in place. It’s much easier than finding the problem after you’ve packed everything away.
Final Thoughts
You’ve put time and care into your artwork, right down to the details someone else might miss. Give yourself a little patience with the photograph, too. A few test shots with the camera you already have are a good place to start. Once you’re happy with the setup, note what worked so you can use it again.
Then take one last look at the photo beside your finished piece. Check the colors, the fine lines, and that little detail you were so pleased with. The goal is to give someone looking at a screen a faithful view of the artwork in front of you.
Frequently Asked Questions (FAQs)
What is the best lighting for 2D artwork?
Try a bright window with no direct sun falling on the piece. Check both sides of the photo for shadows. For an evening shoot, use two matching diffused lights, one on either side, starting at roughly 45 degrees to the artwork.
What camera settings should I use to photograph artwork?
There’s no single setting for every setup. On a DSLR or mirrorless camera, a low native ISO and f/8 are useful starting points. With the camera on a tripod, adjust shutter speed until the exposure looks right.
How do I photograph artwork without glare?
Start with the flash off. If a bright patch still covers the artwork, move your lights farther to either side and take another shot. Keep the camera facing the piece squarely as you adjust the lighting.
Can I photograph artwork with a smartphone?
Yes. Try your phone before buying a camera. Steady it on a mount, use the main rear lens, and tap the artwork to focus. For prints, inspect the file’s fine detail and pixel dimensions before uploading.