How to Make Prints of Your Art to Sell: A Complete Guide
September 25,2026 12:25 AM(UTC+8) 433 views
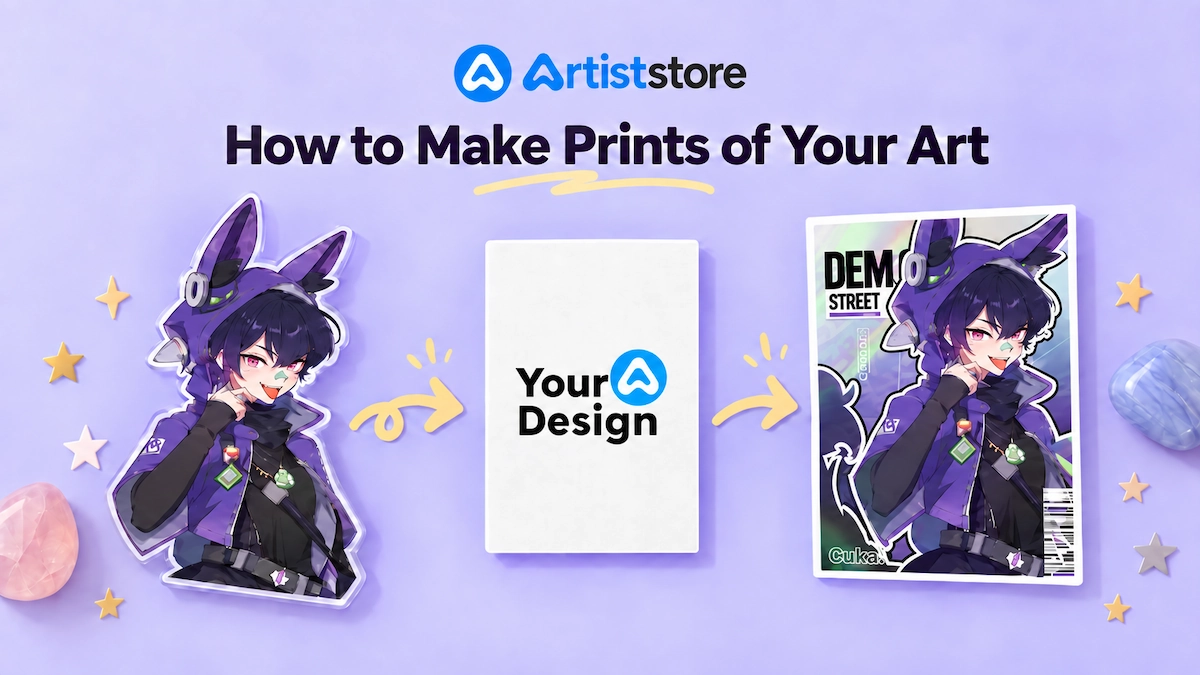
Turning your artwork into prints is one of the simplest ways to make your work more accessible to buyers without selling the original piece every time.
But making a print that looks professional involves more than uploading an image and pressing “print.” Resolution, color, paper, size, and production method all affect how the finished piece looks and feels.
Whether you create traditional paintings, digital illustrations, character art, or mixed-media work, this guide explains how to make prints of your art to sell, from preparing the original file to pricing and listing the finished product.
Why Turn Your Art Into Prints?
An original artwork can usually be sold once. A print lets one design reach many buyers at a lower price point.
For artists, prints can:
· Create repeatable income from existing artwork
· Give fans a more affordable way to collect your work
· Be offered in several sizes
· Work alongside stickers, keychains, pins, and other merch
· Let you test demand without creating entirely new designs
You do not need to turn every piece into a print. Start with artwork that represents your style clearly and already receives a positive response from your audience.
Step 1: Choose the Artwork You Want to Print
Not every piece works equally well as a print.
Look for artwork with:
· A clear composition
· Enough resolution or detail
· Colors that reproduce well
· A suitable shape for common print sizes
· Visual appeal when displayed on a wall or desk
If you share your work online, engagement can provide useful clues. Designs that receive more saves, comments, shares, or direct requests may be good candidates.
Also think about scale. A highly detailed illustration may look better as an 11 × 14-inch print than a small 5 × 7-inch one, while a simple character design may work well in several sizes.
Choose a few strong pieces first rather than launching a large print collection immediately.
Step 2: Digitize Your Original Artwork
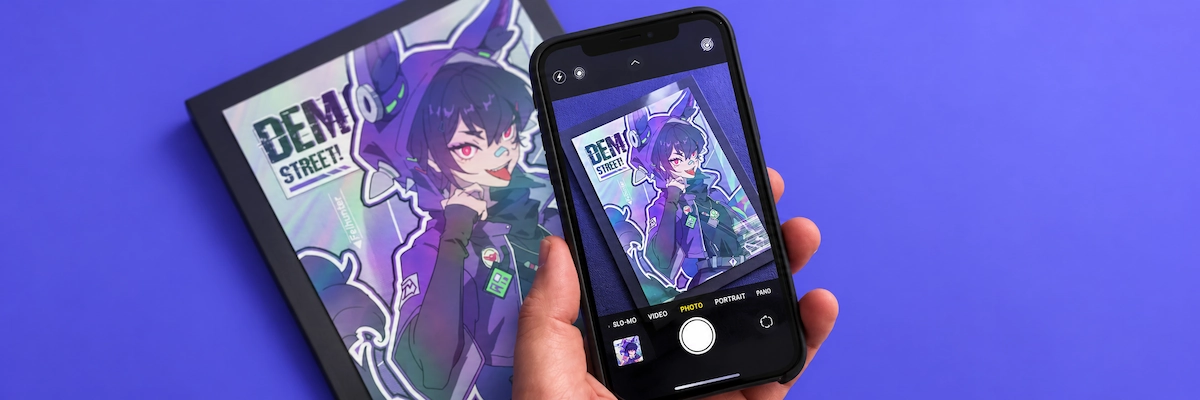
Digital artists can usually move directly to file preparation. Traditional artists first need to create a clean, high-quality digital version of the original.
The two main methods are scanning and photography.
Scan Your Artwork
Scanning is usually the easiest option for flat artwork that fits on a scanner, including:
· Pencil and ink drawings
· Watercolor
· Gouache
· Small paintings
· Flat mixed-media work
A good scan captures detail evenly and avoids many lighting problems associated with photography.
Scan at a high enough resolution for the largest size you plan to print. It is better to keep one large master file and create smaller versions later than to start with a file that is already too small.
After scanning, zoom in and check for:
· Dust
· Fibers
· Scanner marks
· Small scratches
· Unwanted shadows
· Uneven backgrounds
Make corrections carefully without removing intentional texture from the original artwork.
Always keep an untouched copy of the original scan.
Photograph Larger Artwork
Photography works better for pieces that are too large, heavily textured, framed, or difficult to scan.
For a cleaner result:
· Place the camera directly in front of the artwork
· Keep the camera parallel to the artwork
· Use soft, even lighting
· Avoid reflections and strong shadows
· Use a tripod when possible
· Fill most of the frame with the artwork
· Shoot at the highest practical image quality
The most common problem is perspective distortion. If the camera is tilted, one side of the artwork may appear larger than the other.
Lighting also matters. Avoid mixing daylight with warm indoor lighting, as this can make color correction more difficult.
A modern smartphone can work for smaller projects if the lighting and alignment are controlled, but a dedicated camera generally gives you more flexibility for larger or premium prints.
Export Digital Art Correctly
If you create artwork digitally, export from the original working file rather than downloading an image from Instagram, Pinterest, X, or another social platform.
Social platforms usually compress or resize uploaded images.
Instead, export directly from software such as:
· Procreate
· Photoshop
· Clip Studio Paint
· Illustrator
· Affinity Designer
Keep your original layered file and create separate print-ready copies.
This makes it much easier to prepare different sizes later without repeatedly resizing your only file.
Step 3: Prepare Your Artwork for Printing
File preparation has a major effect on print quality.
A beautiful illustration can still look blurry, poorly cropped, or unexpectedly dark if the file is not prepared correctly.
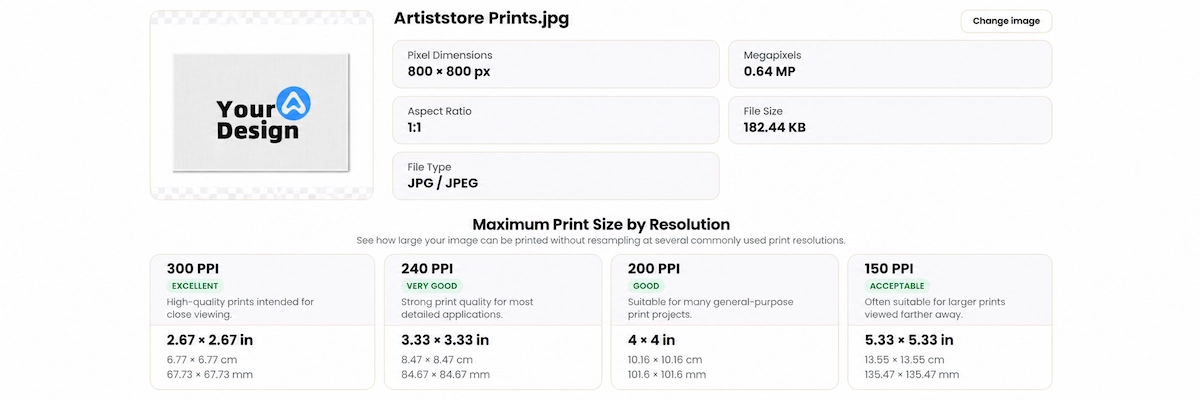
Resolution and PPI
For most art prints viewed at close range, 300 PPI at the final print size is a useful standard target.
The important part is “at the final print size .”
For example:
|
Print Size |
Approx. Pixels at 300 PPI |
|
5 × 7 in |
1500 × 2100 px |
|
8 × 10 in |
2400 × 3000 px |
|
8 × 12 in |
2400 × 3600 px |
|
11 × 14 in |
3300 × 4200 px |
|
12 × 18 in |
3600 × 5400 px |
Simply changing a file setting from 72 PPI to 300 PPI does not create additional image detail.
What matters is whether the file contains enough actual pixels for the size you want to print.
Large prints designed to be viewed from farther away can sometimes use a lower effective resolution, but always check the requirements of your printing service.
Print Size and Aspect Ratio
Different print sizes use different aspect ratios.
For example:
· 8 × 10 = 4:5
· 8 × 12 = 2:3
· 11 × 14 = approximately 11:14
That means one artwork will not automatically fit every size without adjustment.
If the aspect ratio changes, you generally have three options:
1. Crop part of the artwork
2. Add borders
3. Create a separate composition for that size
Avoid stretching the artwork to fit, as this distorts the image.
If important details sit near the edge, leave enough space for trimming. Some printers also require bleed when the artwork extends to the edge of the page.
Before exporting, check the exact production template or dimensions provided by your printer.
RGB vs CMYK
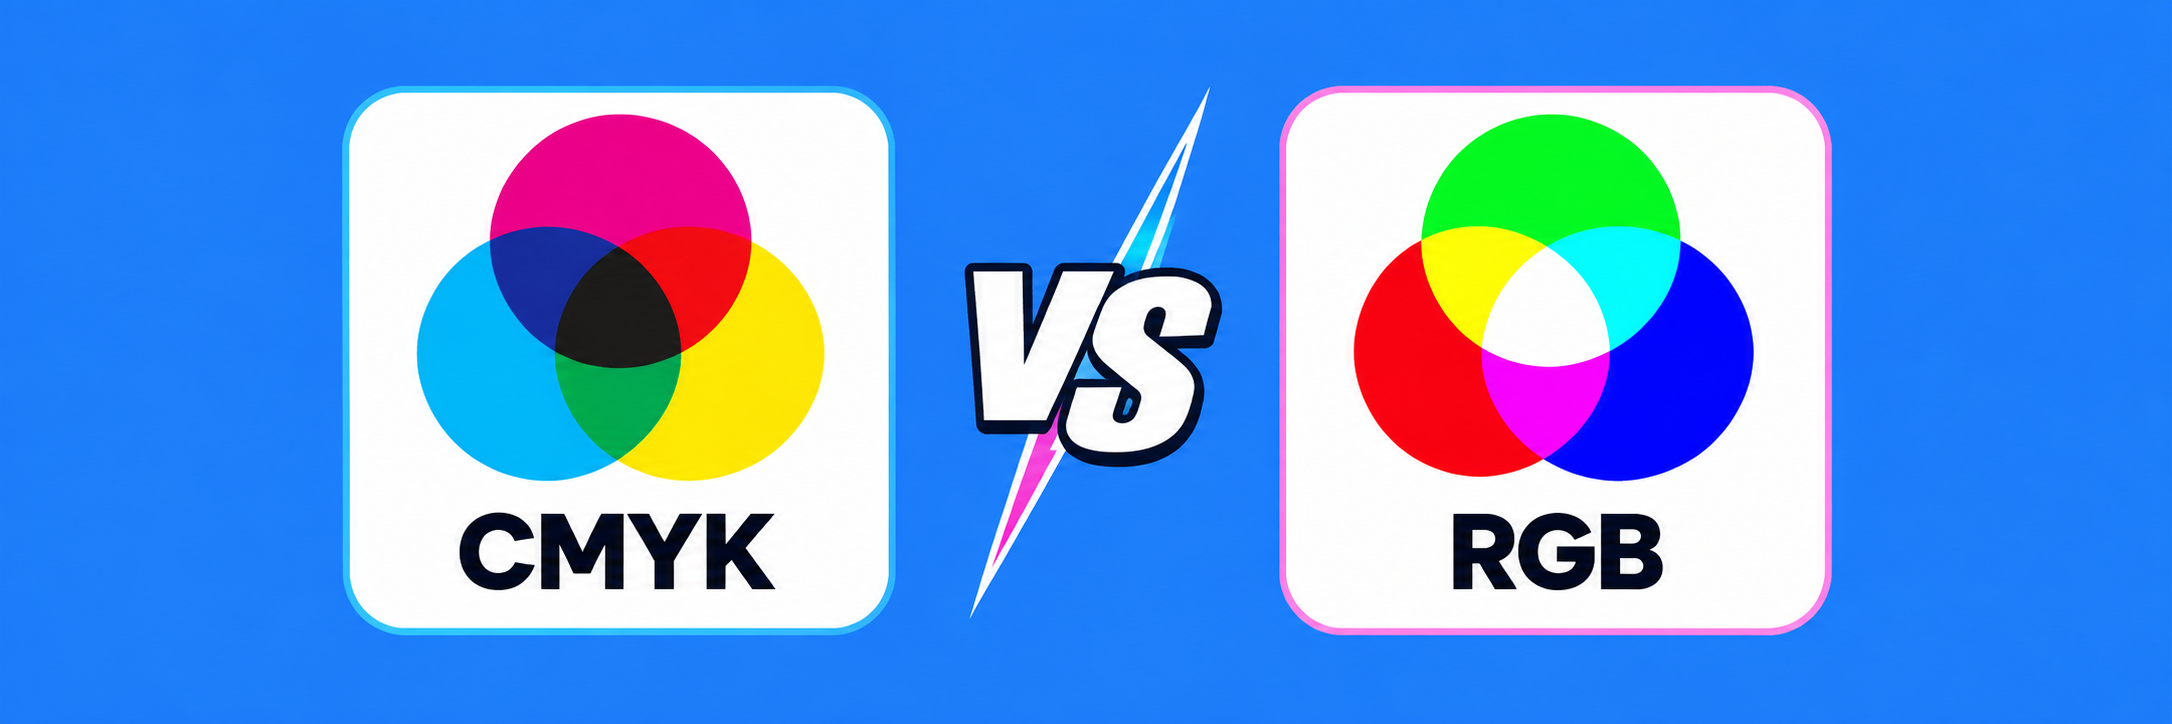
RGB is mainly used for screens, while CMYK is common in physical printing.
Because screens can display colors that inks cannot reproduce exactly, highly saturated colors may look different after printing.
However, that does not mean every artist should automatically convert every file to CMYK.
Different printers use different workflows.
Some ask for CMYK files. Others prefer RGB and handle color conversion internally.
The safest process is:
1. Check the printer’s file requirements
2. Use the requested color mode
3. Use any provided color profile when available
4. Order a sample before selling
Do not judge the final print only from your monitor. Screen brightness, calibration, and display type can all affect how colors appear.
Best File Formats for Art Prints
Common print file formats include:
PNG
Good for high-quality raster artwork and designs that may need transparency.
TIFF
Often used for high-quality image reproduction because it can preserve detailed raster information.
JPEG
Widely accepted and suitable when exported at a high-quality setting.
PDF
Useful for print-ready layouts, especially when working with specific dimensions, bleed, typography, or vector elements.
PSD or AI
Sometimes accepted by manufacturers that support editable production files.
There is no single file format that is always best. Follow the requirements of the printer or platform you choose.
Most importantly, keep your editable master file separately from the final production file.
Step 4: Choose the Right Type of Art Print
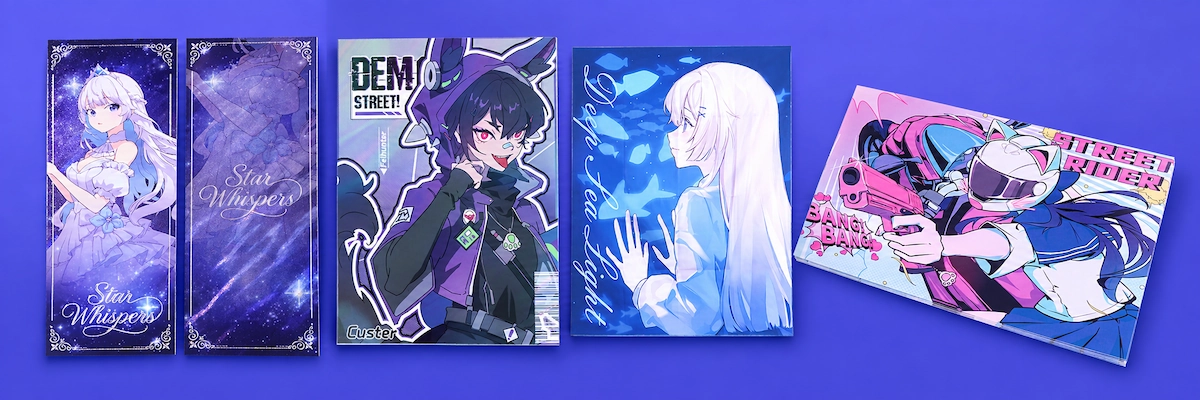
“Art print” can refer to several types of physical products.
The right one depends on your style, audience, and price point.
Fine Art and Giclée Prints
Giclée is commonly associated with high-quality inkjet reproduction using professional printing systems and fine-art media.
It can work particularly well for:
· Watercolor
· Traditional paintings
· Detailed illustrations
· Photography
· Limited-edition prints
Fine-art papers may be smooth or textured and often provide a more premium presentation.
If you plan to market a print based on longevity or archival characteristics, make sure those claims are supported by the actual paper and ink system used by your printer.
Posters and Standard Art Prints
Standard art prints and posters are usually more affordable and work well for:
· Digital illustration
· Character artwork
· Graphic designs
· Anime-inspired artwork
· Decorative wall art
· Bold, colorful designs
For many independent artists, this is the easiest format to start with.
It also works well when you want to offer several designs without creating a high-priced fine-art collection.
Artiststore, for example, supports printed wall-art products that creators can add to their storefronts without purchasing inventory in advance.
Canvas Prints
Canvas creates a noticeably different look from paper.
It can suit:
· Painterly artwork
· Landscapes
· Large decorative pieces
· Traditional-style compositions
However, canvas texture can soften very fine details.
If your artwork depends on sharp linework, tiny typography, or subtle texture, order a sample before committing to canvas as the main format.
Step 5: Choose the Right Paper
Paper affects color, contrast, texture, glare, and the overall feel of the finished product.
There is no single paper that works best for every artist.
Matte vs Glossy Paper
Matte paper has little reflective shine and is popular for illustrations, drawings, and traditional artwork.
Advantages include:
· Less glare
· A softer appearance
· Good readability of fine details
· Fewer visible fingerprints
Glossy paper reflects more light and can make colors and contrast appear stronger.
It is often used for:
· Photography
· Highly saturated artwork
· Designs where a polished finish suits the style
Between matte and glossy are finishes such as satin, luster, semi-gloss, and semi-matte.
If you are unsure, matte or satin is often a practical starting point for illustration.
Fine Art and Archival Paper
For premium prints, look beyond paper thickness.
Consider:
· Surface texture
· Paper tone
· Paper composition
· Ink compatibility
· Manufacturer specifications
· How the print will be displayed
A textured fine-art paper may complement watercolor beautifully but may not suit crisp vector artwork.
Likewise, a bright white paper can make colors feel cleaner, while a warmer paper can create a softer appearance.
Order samples whenever possible. Paper specifications alone cannot fully show how your artwork will look in person.
Step 6: Decide How to Make Your Prints
Artists generally have three main production options:
|
Method |
Upfront Cost |
Inventory |
Control |
Best For |
|
Home printing |
Medium–high |
You manage it |
High |
Small batches and hands-on production |
|
Professional printer |
Medium–high |
Usually required |
High |
Proven designs and larger runs |
|
Print on demand |
Low |
No pre-bought stock |
Moderate |
Testing designs and selling without inventory |
The best method depends on your budget, order volume, available space, and how much fulfillment work you want to handle.
Print Your Art at Home
Home printing gives you maximum control.
You can choose the paper, adjust print settings, inspect every copy, and package orders yourself.
However, a professional home setup may require:
· A quality photo or art printer
· Ink
· Paper
· Cutting tools
· Packaging
· Storage space
· Regular maintenance
You also need to account for failed prints and test sheets.
Home printing works best for artists who enjoy production and sell manageable quantities.
Use a Professional Printer
A professional print shop lets you order finished prints in batches.
This may provide:
· More paper options
· Larger sizes
· Professional printing equipment
· Lower per-unit costs at higher quantities
· More control over final packaging if you fulfill orders yourself
The main disadvantage is inventory.
A lower unit price is useful only if the prints actually sell.
For new artwork, consider starting with a smaller quantity. Once you know which designs perform consistently, larger orders become less risky.
Use Print on Demand
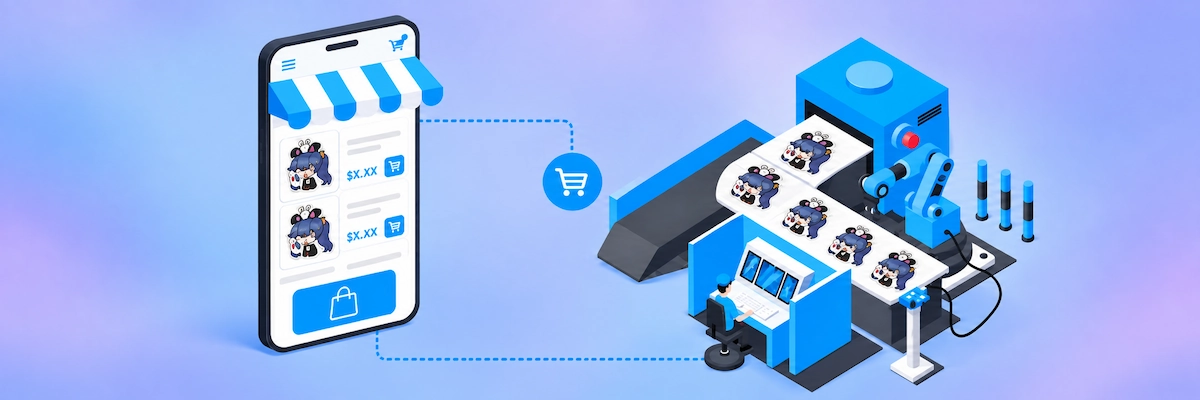
With print on demand, a product is produced after someone orders it.
This means you do not need to purchase a large quantity of prints before knowing whether they will sell.
POD can be useful if you:
· Are launching your first art store
· Want to test several designs
· Have limited storage space
· Prefer not to package every order
· Want to reduce upfront inventory costs
The trade-off is less hands-on control over each individual order and potentially higher production costs per item compared with larger bulk runs.
If you are new to the model, Artiststore’s guide to what print on demand is and how to start a POD business explains the workflow in more detail.
Artiststore also lets creators build a storefront and sell products such as prints without purchasing finished inventory first. Production and fulfillment take place after an order is made.
For a new artist, this can make it easier to test designs before deciding whether bulk printing is worth the investment.
Step 7: Order a Sample and Check Print Quality
Do not let your first customer become your quality-control test.
Always order a sample before launching a print.
Check:
· Color accuracy
· Sharpness
· Fine details
· Shadow areas
· Cropping
· Borders
· Paper texture
· Physical size
· Packaging condition
Compare the print with your original artwork or working file under neutral lighting.
Do not expect a physical print to look exactly like a bright screen. Printed ink reflects light, while a monitor emits it.
Instead, ask whether the physical result accurately represents the mood, colors, and details you intended.
A real sample is also useful for product photography.
Mockups are helpful, but buyers benefit from seeing what the actual paper, size, and finished print look like.
How to Price Your Art Prints
Once you know how the print will be produced, you can calculate a realistic selling price.
A simple starting formula is:
Production cost + selling costs + overhead + profit = selling price
Costs may include:
· Printing
· Packaging
· Platform fees
· Payment processing
· Shipping costs you cover
· Replacement orders
· Marketing
· Your fulfillment time
Do not price your work only by copying another artist.
Two prints that look similar online may use different paper, sizes, production methods, packaging, and business models.
You can also create a simple price ladder.
For example:
· Small print — accessible entry price
· Medium print — standard option
· Large print — premium option
You do not need five or six sizes when launching.
Two or three clearly differentiated choices are usually easier for both the artist and the customer.
Where to Sell Your Art Prints
You can sell prints through your own store, marketplaces, social platforms, or in-person events.
Many artists combine several channels.
Your Own Online Store
A dedicated store gives you greater control over:
· Branding
· Product presentation
· Pricing
· Collections
· Customer experience
If you do not want to manage inventory and fulfillment yourself, a POD-based storefront can simplify the process.
Artiststore is designed around artists and creators and allows prints to sit alongside other merch in the same store.
If you are still building your first shop, see How to Start an Online Art Store .
Online Marketplaces
Marketplaces can help your products reach buyers who are already browsing for art.
Before choosing a platform, compare:
· Selling fees
· Competition
· Branding options
· Product rules
· Intellectual-property policies
· Fulfillment requirements
A large marketplace is not automatically the best choice. The right platform is one where your style and target audience fit.
Social Media and In-Person Events
Social media is especially useful for showing the process behind the artwork.
Content ideas include:
· Sketch-to-print videos
· Drawing timelapses
· Sample unboxings
· Before-and-after print comparisons
· Studio photos
· New collection previews
Conventions and art markets can also work alongside an online store.
Someone who discovers your work at an event may return later to buy another design online.
For a broader comparison of sales channels, Artiststore’s guide on how to sell art online covers online stores, marketplaces, POD, commissions, and other options.
How to Create an Art Print Listing That Converts
A good listing should quickly answer what the customer is buying.
Include:
· Clear product title
· High-quality artwork preview
· Real product photos when possible
· Available dimensions
· Paper or material
· Finish
· Border information
· Whether a frame is included
· Shipping information
Avoid descriptions filled with generic phrases such as “perfect for every space.”
Be specific.
Explain the artwork, the physical print, and anything the customer needs to know before ordering.
Showing scale is especially useful. A lifestyle image above a desk, shelf, or bed helps customers understand the difference between an 8 × 10 and a 12 × 18 print much faster than dimensions alone.
How to Package and Ship Art Prints Safely
If you fulfill orders yourself, protect prints from:
· Bending
· Scratches
· Moisture
· Damaged corners
Small prints are often shipped flat using a protective sleeve, rigid backing, and a sturdy mailer.
Larger prints may be rolled and shipped in a tube if the paper allows it.
Test your packaging before sending a large number of orders.
If you use print on demand, packaging and shipping are handled by the fulfillment provider, making your sample order the best time to evaluate how customers will receive the product.
How to Promote Your Art Prints
You do not need a complicated marketing campaign for every design.
Start with the artwork itself.
Show:
· The original sketch
· Your drawing process
· The finished print
· Close-up details
· Different print sizes
· The story behind the artwork
· How the piece looks in a real space
Process content often feels more natural than repeatedly posting product photos with “Buy now” captions.
If a design performs well, you can also consider whether it fits other products such as stickers, keychains, pins, or standees.
Do not automatically put every design on every product. Choose formats that genuinely suit the artwork.
Common Mistakes to Avoid When Making Art Prints
Using a File That Is Too Small
Changing the resolution setting does not create missing image detail.
Check the actual pixel dimensions before printing.
Ignoring Aspect Ratio
One file does not fit every print size perfectly.
Create appropriate crops instead of stretching the artwork.
Trusting the Screen Too Much
A bright monitor can make colors look more vibrant than they will in print.
Use samples to make final judgments.
Using the Wrong Color Workflow
Do not assume RGB or CMYK is always correct.
Follow the printer’s specifications.
Skipping the Sample
A mockup cannot show paper texture, real color reproduction, cropping accuracy, or packaging quality.
Always test the physical product.
Launching Too Many Sizes
More sizes mean more files, more cropping decisions, and more choices for the customer.
Start simple and expand when demand supports it.
Pricing Only From Production Cost
Your selling price should also account for fees, packaging, fulfillment, overhead, and profit.
Start With One Great Print
You do not need a huge collection to start selling art prints.
Choose one strong artwork.
Digitize it carefully. Prepare it at the correct resolution and size. Select a paper and production method that suit the piece. Then order a sample and judge the finished product in your hands.
Once the first print works, repeat the process.
Sales data will gradually tell you which designs deserve more sizes, which pieces work best as other merch, and whether you should continue using print on demand or move proven designs into larger production runs.
The goal is not simply to transfer an image onto paper.
It is to create a physical version of your art that still feels like your work—and that you are confident putting your name on.
Frequently Asked Questions
How Do I Turn My Artwork Into Prints?
Scan or photograph traditional artwork at high quality, or export digital artwork from the original source file. Prepare the image at the correct dimensions and resolution, follow your printer’s file requirements, and order a sample before selling.
What Is the Best DPI for Art Prints?
For image preparation, 300 PPI at the final print size is a common target for high-quality prints viewed at close range. Always check the requirements of the printer you use.
What Paper Is Best for Art Prints?
It depends on the artwork. Matte and fine-art papers are popular for illustration and traditional work, while glossy or luster finishes can suit photography and highly saturated designs.
Is RGB or CMYK Better for Art Prints?
Use the color mode recommended by your printer. Some printing workflows require CMYK, while others accept RGB and handle conversion during production.
Is It Better to Print Art at Home or Use Print on Demand?
Home printing provides more direct control but requires equipment, supplies, and fulfillment work. Print on demand reduces upfront inventory and handles production after a customer orders. The better option depends on your budget and sales volume.
How Much Should I Charge for Art Prints?
Calculate production costs, selling fees, packaging or fulfillment expenses, overhead, and your desired profit. Use similar products for market context, but do not copy another artist’s price without considering differences in materials and costs.
Can I Sell Prints of Digital Art?
Yes. Original digital artwork can be sold as physical prints. Export from the original high-resolution file rather than a compressed social-media image, and make sure you have the necessary rights to everything included in the design.